Background
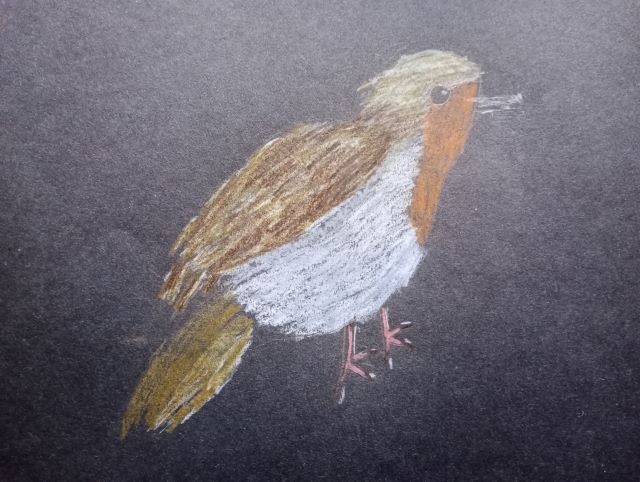
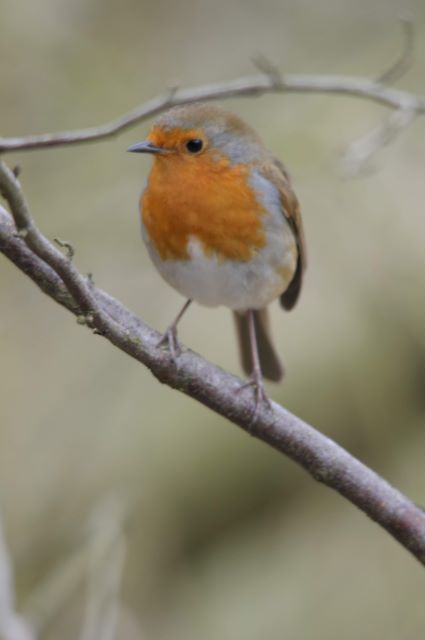
Today, I have drawn a robin picture and named it The Christmas Robin. Using two robin photos, I managed to get the right shapes and colours.


Drawing
With some help, I sketched four circles of different sizes: one for the head, body, wing and tail feathers. Then, I sketched some lines to connect the circles more realistically. For the eye, I simply drew a circle.
When drawing the beak, I looked at a reference photo and used it and the eye to locate where the beak wanted to go. I also drew a line in the centre of the beak to separate the top and bottom.
Using a different reference photo, I drew the legs and then the feet, making sure the three toes on each leg created a triangle-like shape.

While I was doing the colouring, I had to draw a few feathers that were sticking out on the neck and wing.
Colouring
When I did the colouring, I started with the robin’s neck. Using my main reference photo, I carefully coloured in the underneath of the neck.
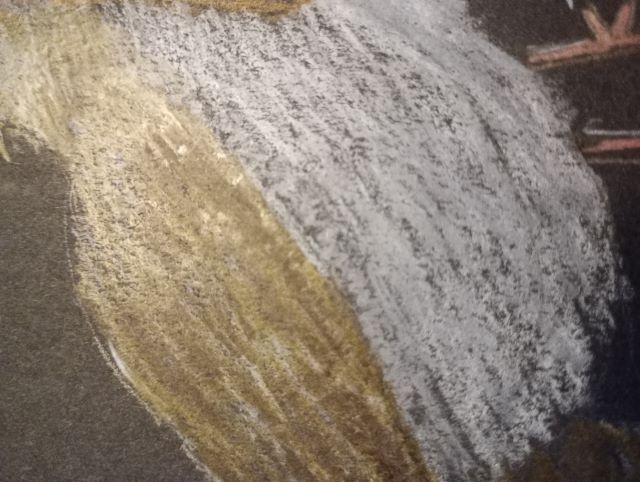
I then moved onto the main body, layering a light grey on top of white. Like I did for the head, wings and tail feathers, I coloured in a specific direction, a diagonal right to left, to create a feathery texture. I also used the grey on its own while colouring around the wing.
For the wing and part of the head, I created a triple-layered colour: white underneath earth and then a dark brown on top. Meanwhile, I used the same combination without the brown for most of the head and tail. For the darker part of the tail, I purely used earth.

On the legs, I used a purply metallic pencil and a dark brown. Like the beak, I used white on the claws and legs to show where light would be catching it.
I coloured the beak dark grey with white underneath. I also added a dot of white on the large black eye.
Observations
The major observation I made is that the robin’s neck is orange and not red! One of my smaller observations is that the three toes on each of the robin’s feet create a triangular shape.

